How to Properly Store Your Garden Hose to Extend Its Lifespan
A garden hose lasts longer when you store it clean, dry, loosely coiled, and protected from harsh weather. A few minutes of care after watering can help prevent kinks, tangles, cracks, mold, connector damage, and unnecessary replacement.
The most reliable routine is simple: disconnect the hose, rinse it, drain all residual water, let it dry, coil it without sharp bends, and place it somewhere shaded or sheltered. The best storage method depends on your hose length, available space, local climate, and how often you use it.
Why Proper Garden Hose Storage Matters
Proper garden hose storage prevents physical damage, moisture problems, and weather-related deterioration that can shorten the hose’s useful life. Correct storage also keeps the hose easier to unwind and reduces strain on hose connectors.
A hose left in a tangled heap develops repeated stress points. Those tight bends can flatten the inner tube, restrict water flow, and eventually create weak spots. Dragging a tangled hose across paving or garden edges adds abrasion to the outer cover.
Sunlight is another major concern. Ultraviolet radiation, or UV exposure, can gradually make rubber and plastic less flexible. A hose stored in direct sunlight may become brittle, fade, or crack sooner than one kept in a shaded location. Heat can also soften some materials, making them more likely to deform under pressure.
Moisture creates a different set of problems. Water trapped inside a hose encourages unpleasant odors and can contribute to mold or mildew, especially when the hose remains coiled tightly in a warm, poorly ventilated area. Water left in hose connectors may also contribute to corrosion or damaged seals.
Good storage protects the hose in four ways:
- It reduces kinks and tangles caused by tight or uneven coils.
- It limits cracking caused by UV exposure, heat, and repeated bending.
- It protects hose connectors from impact, dirt, and unnecessary strain.
- It prevents residual water from freezing inside the hose during cold weather.
Clean and Drain the Hose Before Storage
To prepare a garden hose for storage, shut off the water, disconnect it, rinse away dirt, drain it completely, and let it dry before coiling. This routine removes contaminants and prevents trapped moisture from causing odor, mildew, or freeze damage.
Start by turning off the outdoor tap or water supply. Release pressure by opening the spray nozzle or trigger briefly, then disconnect the hose from the tap. Leaving the hose pressurized places unnecessary stress on its walls and fittings, particularly when temperatures change.
Rinse the outside if it has been exposed to soil, fertilizer, mud, or plant debris. Dirt caught around the connectors can prevent a proper seal the next time you use the hose. Check the washers and threaded ends while you clean them, and remove grit gently rather than forcing a connector.
Next, raise one end of the hose and work along its length. Lift sections gradually so water flows toward the open end. Avoid sharply folding the hose to speed up drainage; a series of tight bends can create the same kinks you are trying to prevent.
After draining, leave the hose loosely laid out in a shaded, ventilated place until the exterior and interior are as dry as practical. Do not seal a wet hose inside an airtight container. A hose pot or storage box should allow some ventilation, particularly if the hose will remain unused for several weeks.
Choose the Right Storage Location
The best storage location for a garden hose is cool, dry, shaded, and sheltered from traffic, sharp edges, extreme heat, and freezing temperatures. Indoor or protected outdoor storage usually provides better conditions than leaving the hose beside the tap.
Direct sunlight causes gradual UV damage, while hot surfaces such as concrete, metal, and dark paving can intensify heat exposure. If outdoor storage is your only option, choose a shaded wall, covered porch, shed, or area beneath a suitable roof overhang.
Keep the hose away from lawnmowers, bicycles, ladders, garden tools, and vehicle tires. A hose crushed under a wheel may develop a permanent flat spot or split at a weakened section. Sharp hooks, nail heads, and rough masonry can also scrape the outer layer each time the hose is removed.
Freezing temperatures require extra care. Water expands as it freezes, so residual water can stress the hose and fittings. This is especially relevant for hoses with spray guns, shut-off valves, connectors, or other attachments that retain water.
A sheltered area is helpful, but it does not need to be heated. A dry garage, basement, utility room, garden shed, or frost-protected storage cabinet can work well. Keep the hose off damp floors when possible, and avoid placing heavy objects on top of it.
For a small home with limited storage space, a wall-mounted hose hanger inside a shed or beneath a covered entry can keep the hose off the ground without requiring a large reel. The key is protection from the elements and enough room for a relaxed coil.
Coil the Hose Correctly to Prevent Kinks
Coil a garden hose in wide, even loops without twisting it or forcing tight bends. A loose coil preserves flexibility, reduces tangles, and prevents one section from carrying repeated stress.
Before coiling, straighten the hose as much as the space allows. Start at the end nearest the tap or at the end you normally handle first. Form loops with a consistent diameter and guide each loop beside the previous one rather than throwing the hose into a pile.
When the hose resists a bend, stop and rotate it slightly to remove the twist. Do not fight the material. A twist trapped inside each loop often becomes a tangle when you next pull the hose out.
Leave both hose connectors accessible. Avoid crushing the threaded ends beneath the coil or hanging the entire weight of a long hose from a small plastic fitting. If you use a hook, support the hose across a broad curve instead of placing it over a narrow point.
Keep the finished coil away from sharp edges, heavy objects, and vehicle traffic. A loose coil on a clean shelf is safer than a tightly compressed bundle under a workbench.
Some hoses have a natural direction in which they coil more easily. Follow that direction. Forcing a hose to coil against its construction can create persistent twists, particularly with thicker or reinforced models.
Use a Hose Reel, Hanger, or Storage Pot
A hose reel offers the most controlled storage, while a hose hanger uses less equipment and a hose pot provides a discreet container for shorter lengths. Choose based on hose length, available space, handling effort, and protection from weather.
Hose reels
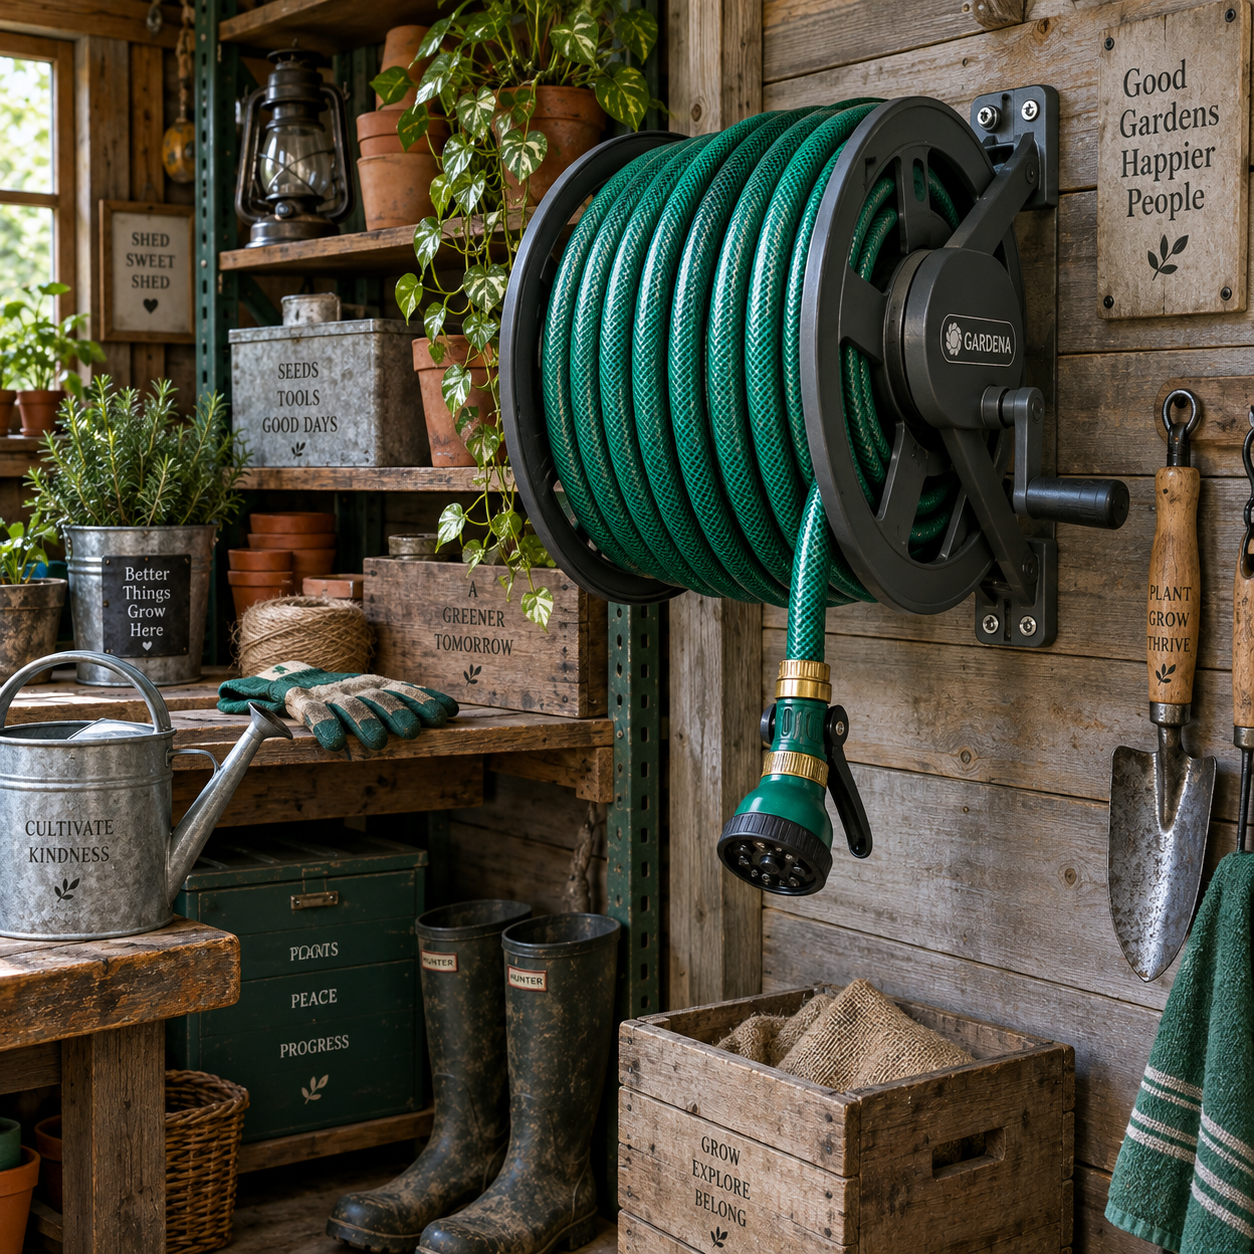
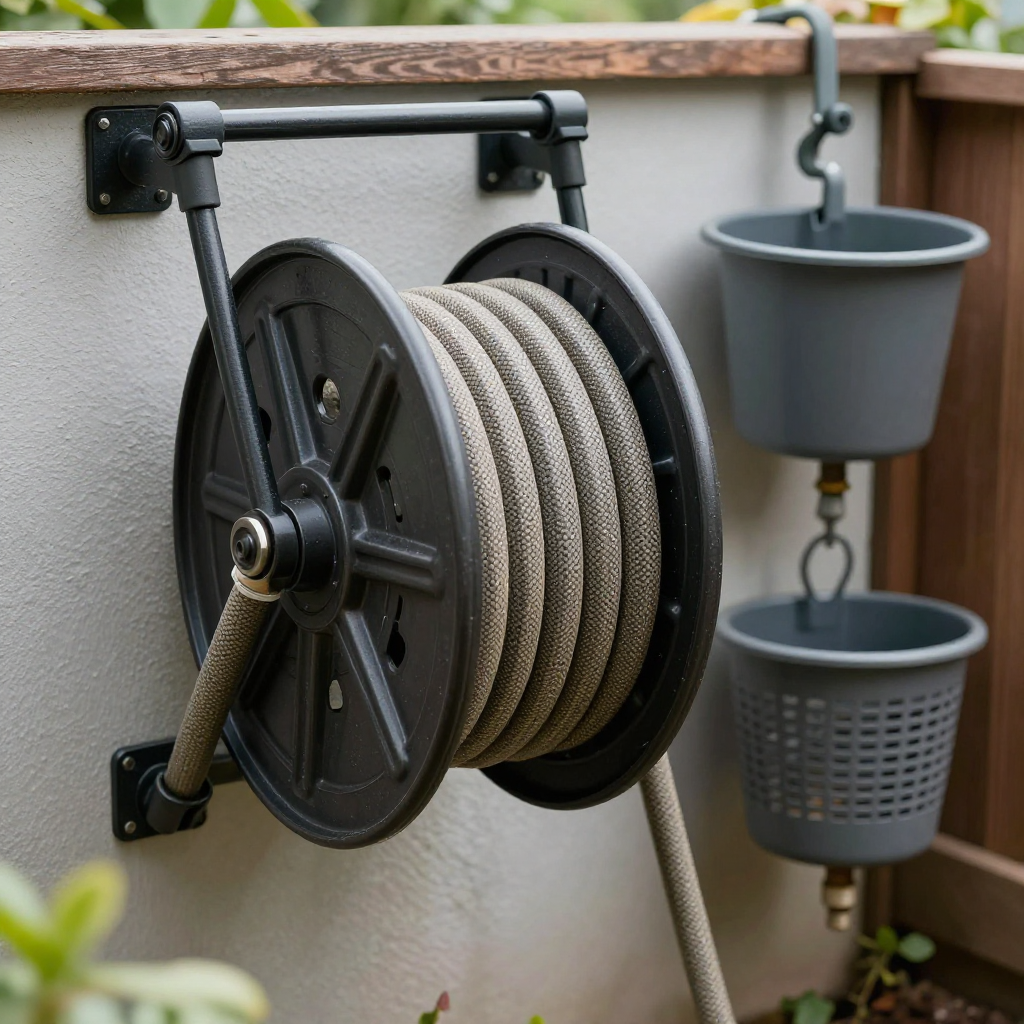
A hose reel keeps the hose in organized layers and can reduce tangles during both use and storage. Wall-mounted reels save floor space, while portable reels can move around a larger yard. Select a reel that accommodates the hose length without forcing the final loops into a tight, crowded coil.
Reels are convenient, but they need correct use. Guide the hose evenly across the drum instead of winding it repeatedly in one narrow spot. Do not retract a muddy or wet hose into an enclosed reel and leave it there for long periods. Convenience should not replace drainage and drying.
Hose hangers
A hose hanger is a simple, low-cost choice for a garage, shed, fence, or sheltered wall. It works well when you have enough vertical space and can lift the hose into broad loops. Choose a hanger with a wide support surface, because a narrow hook can create a sharp bend.
Hose pots
A hose pot hides the hose and keeps it contained near a tap. It suits patios, balconies, and small gardens where appearance and compact storage matter. Check that the pot is large enough for a loose coil and has drainage or ventilation. Packing the hose tightly into a decorative container can create kinks and trap moisture.
As a practical rule, use a reel for frequent use or long hoses, a hanger for simple sheltered storage, and a pot for shorter hoses near a convenient water source. No option works well if it crushes the hose, exposes it to prolonged sun, or stores it while wet.
Prepare Your Garden Hose for Winter Storage
For winter storage, disconnect the garden hose, drain it thoroughly, remove attachments, protect the connectors, and move it indoors or to a frost-protected area. The goal is to eliminate trapped water and limit exposure to freezing temperatures.
Use this seasonal checklist before the first hard freeze:
- Shut off the tap: Close the water supply and release pressure through the hose.
- Disconnect both ends: Remove the hose from the tap, spray nozzle, splitter, reel connection, or watering tool.
- Drain fully: Lay the hose on a gentle slope or lift sections progressively so residual water can escape.
- Inspect the fittings: Clean hose connectors and remove dirt from washers, threads, and seals.
- Dry the hose: Allow ventilation before placing it in a shed, garage, basement, or other protected space.
- Coil loosely: Use wide loops and avoid crushing the hose beneath tools or storage boxes.
- Protect attachments: Store spray guns, nozzles, splitters, and washers where they will not freeze or become damaged.
If your region experiences prolonged freezing weather, indoor storage is the safest choice. A frost-protected shed may be adequate in a mild climate, but an unheated space can still freeze during severe cold. When moving the hose indoors, keep it away from chemicals, sharp tools, and heat sources such as boilers or heaters.
Before spring use, inspect the hose for cracks, bulges, flattened sections, damaged connectors, or brittle washers. Reconnect it gradually and check for leaks before directing water toward plants or outdoor surfaces.
Common Storage Mistakes to Avoid
The most damaging storage mistakes are leaving the hose pressurized, storing it wet, exposing it to strong sunlight, forcing tight coils, and allowing traffic or heavy objects to crush it. Correcting these habits requires little time but can prevent repeated damage.
Leaving the hose connected and pressurized
People often leave a hose attached because it is convenient. Pressure can keep stressing the hose wall and connectors even when water is not flowing. Shut off the tap, release pressure, and disconnect the hose after use.
Storing the hose while wet
A wet hose placed immediately into a pot, reel, or box can retain moisture for days. This encourages odors and mildew and may leave water inside the fittings. Drain it and give it time to air-dry before long-term storage.
Leaving it in direct sunlight
The hose may appear fine after one sunny afternoon, so this mistake is easy to overlook. Repeated UV exposure gradually reduces flexibility and increases the risk of surface cracking. Move storage into shade or use a covered location.
Forcing tight coils or folding the hose
Tight loops save a little space but create concentrated bends and persistent kinks. Coil with wider loops, use a suitable hose reel, or choose a larger hose pot rather than compressing the hose into a small container.
Dragging, crushing, or storing it on sharp surfaces
Dragging over rough paving and leaving the hose beneath a tire can abrade or flatten it. Lift it around corners, keep it off traffic routes, and store it on a broad, clean support.
Garden Hose Storage FAQ
Should a garden hose be stored in the sun?
No. Store a garden hose in shade or under cover whenever possible because UV exposure and heat can make hose materials brittle, faded, or less flexible over time.
Is it better to hang or coil a garden hose?
Both methods work when the hose forms broad, supported loops. A hose hanger is simple and space-efficient, while a hose reel offers more controlled winding and easier handling.
How should a garden hose be stored during winter?
Disconnect it, drain all water, let it dry, remove attachments, and store it indoors or in a frost-protected area. Keep it loosely coiled and away from heavy objects.
Can a garden hose be left connected to the tap?
It is better to disconnect the hose after use, especially before freezing weather or extended periods of non-use. This reduces pressure on the hose and protects the tap connection and fittings.
How do you prevent a stored hose from developing kinks?
Remove twists before coiling, use wide even loops, avoid sharp hooks, and choose storage equipment large enough for the hose. Do not fold, crush, or force it into a container that is too small.
A reliable garden hose storage routine takes only a few minutes: disconnect, drain, rinse, dry, coil loosely, and protect. Follow those steps after regular use, then repeat the full inspection before winter or any long period of storage.