How to Repair a Leaky Hose: A Step-by-Step Guide
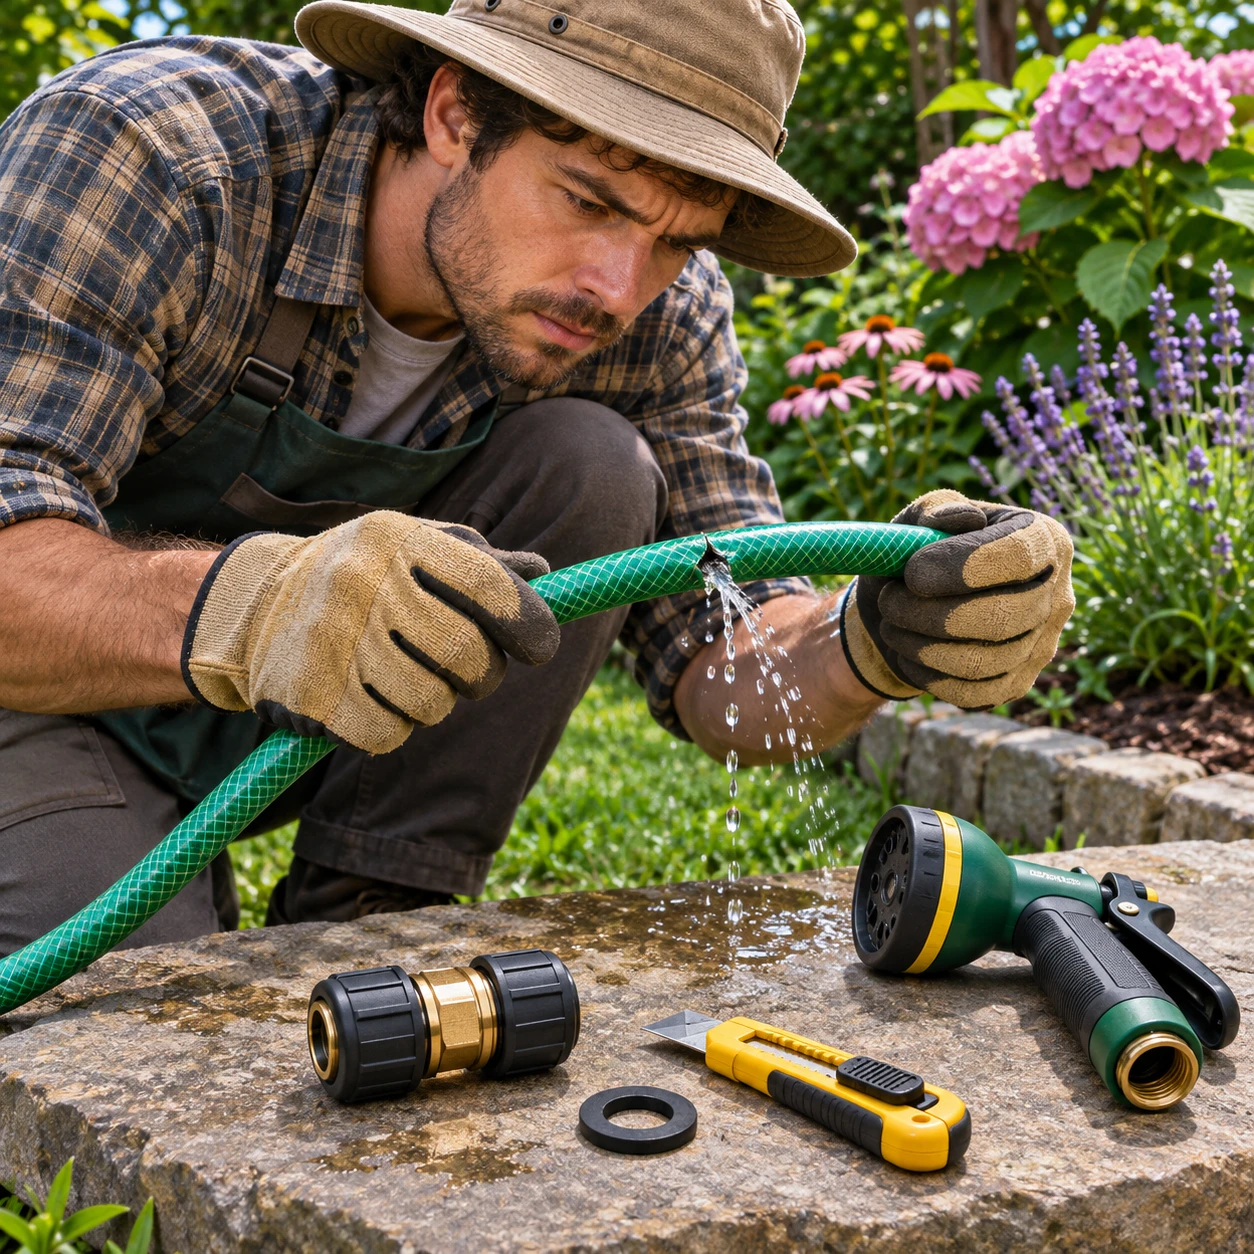
A leaking garden hose can waste water, lower pressure, and leave a muddy patch where you least want one. Many leaks are easy to fix once you identify whether the water is escaping from the hose body, a connector, or the nozzle.
Before you cut or take apart any fitting, turn off the faucet and release the pressure. Open the nozzle or trigger sprayer until the water stops. This makes the repair safer and helps you see the actual source of the leak.
Find the source of the leak
To find a hose leak, briefly run water through the garden hose and watch for wet spots at the hose body, both connections, and the nozzle. Then shut off the water and relieve pressure before inspecting or repairing anything.
Lay the hose out in a clear area rather than leaving it coiled. Turn on the faucet slowly, keeping the nozzle closed only long enough to check the fittings. Look and feel for water around each connection, then move along the hose to spot sprays, bubbles, or a steady drip. Avoid putting your face near a pressurized leak.
Use the location to narrow down the cause:
- Leak at a connector: Water around the threaded joint often points to a missing, flattened, or poorly seated rubber washer, or a damaged fitting.
- Leak at the nozzle: Check the nozzle connection first. If water escapes from the nozzle body or continues dripping when it is shut, its seal or internal parts may be worn.
- Leak along the hose: A puncture, split, or abrasion may be visible as a wet patch or fine spray. Mark the spot so you can find it after draining the hose.
One useful distinction: water leaking from a joint usually calls for a washer or fitting repair; a leak in the flexible hose itself needs a hose-body repair or replacement.
Gather the right repair supplies
The right supplies depend on where the leak is and the hose’s size and construction. A connector leak may need only a compatible rubber washer, while a damaged hose section usually needs a matching hose repair coupling and a clean cut.
For a connector or nozzle repair, have replacement washers or fittings on hand. For a body leak, use a hose repair coupling designed for your hose’s diameter and type. Some couplings use screws or a clamp to grip the hose; others have a different locking design. Follow the part manufacturer’s instructions and confirm that it is intended for garden-hose use.
- A replacement rubber washer or compatible hose connector
- A hose repair coupling that matches the hose diameter
- A hose clamp, if required by the coupling design
- A sharp utility knife and a stable cutting surface
- Work gloves and a towel for handling and cleanup
Check the hose label or measure its outside diameter and compare it with the coupling specifications. Garden hoses can differ in diameter and construction, so a fitting that looks close may still fail to seal. A utility knife should be sharp enough to cut cleanly; a ragged or angled end can prevent the repair coupling from seating properly.
Fix a leaking connection or nozzle
To fix a leaking hose connection, shut off the water, relieve pressure, and inspect the rubber washer inside the female connector. Replace a damaged washer, reconnect the parts, and tighten them by hand; replace a nozzle or fitting if its body or threads are cracked.
Unscrew the connection and look inside the female end. The washer should sit flat, with no cracks, hardening, or missing pieces. Lift it out carefully and fit a washer of the same size and suitable type. Reconnect the hose and tighten it firmly by hand. Avoid using pliers to force a plastic connector, since overtightening can distort or crack it.
If the washer is sound, check for dirt on the washer or threads and wipe it away. Also inspect the connector for cross-threading or damage. A worn or split connector may need replacement rather than additional tightening. Use a replacement fitting made for the hose’s diameter and construction.
For a nozzle leak, first remove and inspect the nozzle’s connection washer. If water still leaks from the nozzle itself, or it drips while fully closed, replace it with a compatible replacement nozzle. Some nozzles have replaceable seals, but a cracked housing or failed internal shutoff is usually simpler to resolve by replacing the nozzle. Recheck the joint after reconnecting, since a new nozzle will not correct a damaged hose connector.
Repair a small leak in the hose
To repair a small hose-body leak, cut out the damaged section and install a repair coupling sized for the hose. Work only after shutting off the water and releasing pressure; tape alone is not a dependable permanent repair.
- Mark the damaged area. Make sure the leak is in a straight, accessible section of hose. Check both sides of the wet spot for cracks or soft, worn material.
- Cut out the damage. Place the hose on a stable surface and use a utility knife to make straight cuts through sound material on both sides. Keep fingers clear of the blade. Remove the damaged piece.
- Fit the coupling. Follow the coupling instructions. Depending on the design, you may need to slide hose ends over barbed sections, position a clamp, or secure screws. Seat each end fully and evenly.
- Secure the repair. Tighten clamps or fasteners as directed. They should hold the hose firmly without crushing or splitting it.
A coupling creates a permanent splice, but it shortens the hose and adds a rigid point that may snag or kink. Position the repair where it can lie straight during use, and make sure the hose material is healthy enough to grip. If damage sits close to an end connector, choose a fitting intended for that end or replace the hose; there may not be enough straight hose to install a mid-hose coupling securely.
Self-fusing or waterproof tape can help limit a leak briefly when a proper repair is not immediately possible. It is a temporary measure: pressure, movement, and outdoor exposure can loosen the wrap. Plan a coupling repair or replacement rather than relying on tape for routine watering.
Test the repair and check for leaks
To test a hose repair, reconnect the hose, open the faucet gradually, and inspect the repaired area and nearby fittings under normal operating conditions. If water appears, shut off the faucet and release pressure before adjusting anything.
Start with low flow so a loose coupling does not suddenly spray or shift. Check the repair from several angles, then increase the flow and inspect again. Run water through the nozzle and, if it has a shutoff, close it briefly to check the connection under pressure. Do not leave a hose pressurized for an extended test.
If the coupling leaks, confirm that the hose ends are fully seated and that the clamp or fasteners are positioned as instructed. If water escapes from a connector, check the washer and threads rather than tightening harder. A second leak beside a new splice may indicate that the hose is brittle or damaged beyond the original spot.
Know when to replace the hose
Replace a garden hose when damage is widespread, the hose material is brittle or split in several places, or a repair cannot grip a sound section securely. A single small puncture in otherwise flexible hose is usually a better candidate for a coupling repair.
Look for repeated leaks, long cracks, bulges, exposed reinforcement, or a hose that has become stiff and flaky. These signs suggest that the material may fail again under ordinary water pressure. Also consider replacement when the damaged area is right beside a connector, where a splice may not fit, or when multiple repairs have left the hose awkward to handle.
Repairing one isolated hole can extend a hose’s useful life, but repeated patches add weak points and reduce convenient length. If the hose leaks in several locations, replacing it is generally more reliable than installing multiple couplings. Recycle or dispose of the old hose according to local waste guidance; many garden hoses are not accepted in standard curbside recycling.
Prevent future hose leaks
Prevent hose leaks by avoiding sharp kinks, excessive water pressure, dragging over rough edges, and long periods of outdoor exposure. Drain the hose after use and store it loosely coiled in a shaded, protected place.
Pull the hose gently rather than yanking it by the connector, which can loosen the fitting or damage the hose near its end. Keep it away from sharp tools, hot surfaces, and vehicle tires. A tight bend can weaken the hose wall over time, especially when the hose is pressurized.
When watering is finished, shut off the faucet, open the nozzle to release trapped pressure, and drain the hose before storing it. Avoid leaving it in direct sun for long periods, and bring it into a sheltered area during freezing weather. Before the next season, check the rubber washers and inspect the hose for cracks or worn spots. A quick inspection early can prevent a small leak from becoming a sudden split during use.
Frequently asked questions
Can tape permanently fix a leaking garden hose?
No. Tape may slow a small leak temporarily, but it can loosen under water pressure and hose movement. Use a compatible repair coupling for a lasting hose-body repair, or replace a badly damaged hose.
Can you repair a hose while it is connected to a faucet?
You can inspect a hose while it is connected by briefly turning on the water, but shut off the faucet and release pressure before cutting the hose or removing a fitting. Never cut or disassemble a pressurized hose.
How do you fix a leak at the hose connector?
Turn off the water, unscrew the connector, and check its rubber washer. Replace a flattened or cracked washer, clean the threads, and reconnect by hand. Replace a cracked or stripped fitting with one that matches the hose.
When should you replace a garden hose?
Replace it when it has multiple leaks, extensive cracking, brittle material, or damage too close to an end for a secure repair. A single small leak in otherwise flexible hose can often be repaired with a correctly sized coupling.