Winterizing Your Garden Hose: Steps to Prevent Freezing Damage
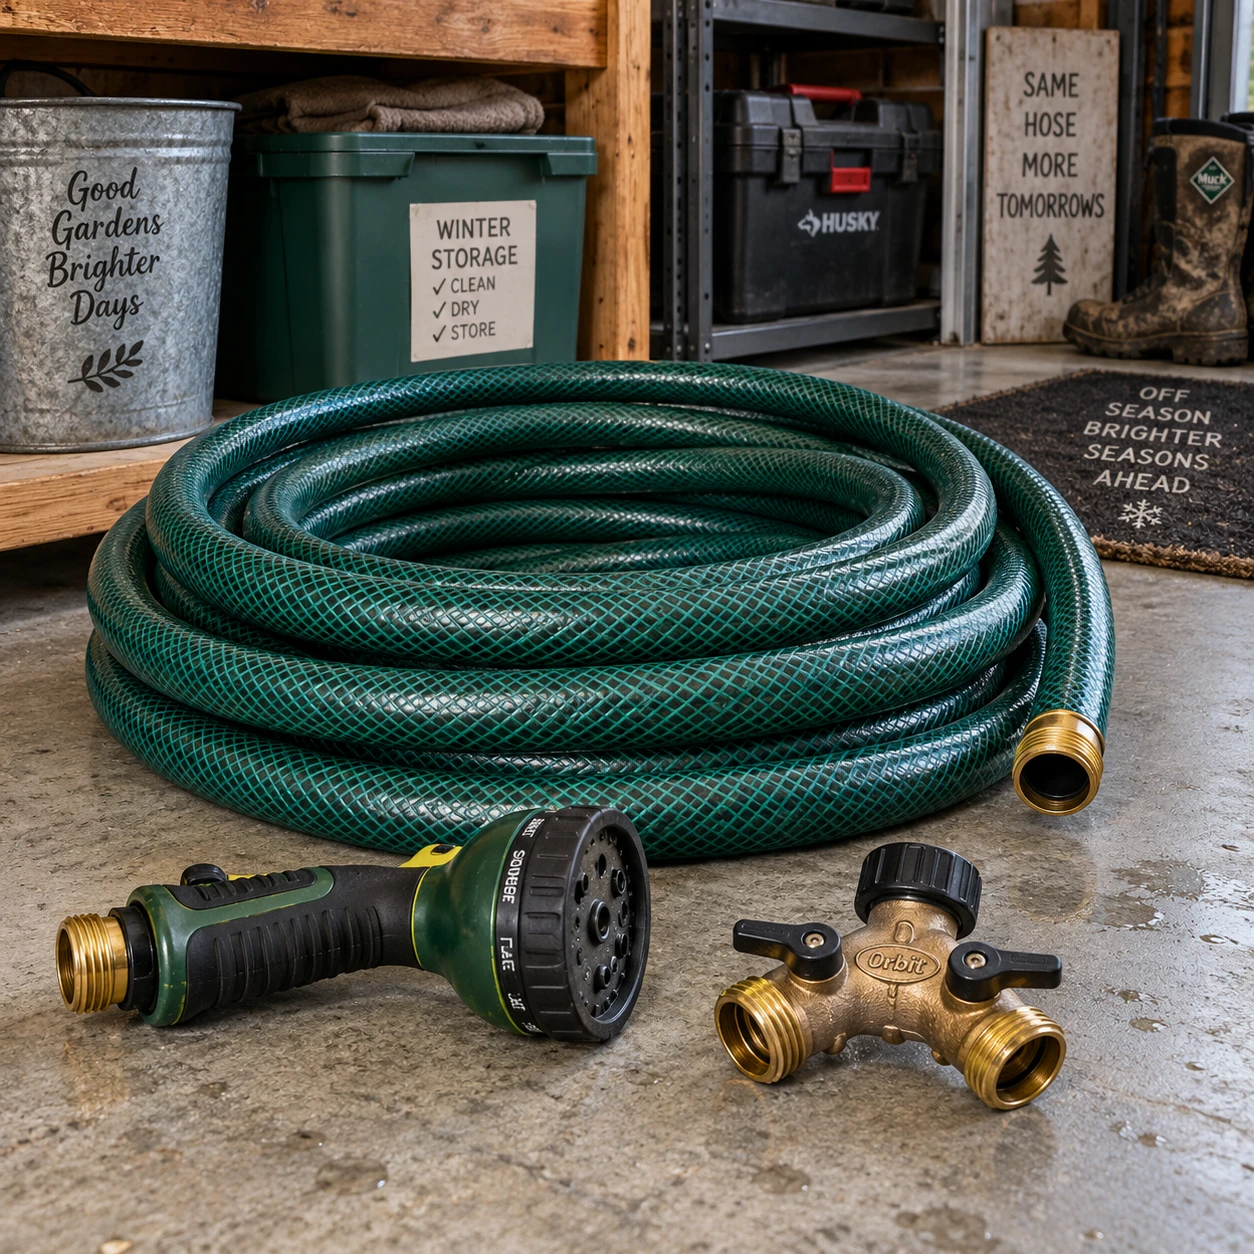
A garden hose can look sturdy, but water left inside may freeze, expand, and split the hose or damage its fittings. A few steps before freezing weather arrives can protect the hose, nozzle, hose reel, and the outdoor faucet it was attached to.
Use this sequence: disconnect accessories, drain the hose, inspect and clean it, then store it somewhere sheltered. Your home’s plumbing setup also matters, so check how the outdoor faucet and its supply line should be shut off and drained.
Why winterizing your hose matters
Winterizing your garden hose helps prevent trapped water from freezing and expanding inside the hose or its connected fittings. Even a small amount of leftover water can contribute to cracks, leaks, or damaged accessories when temperatures drop below freezing.
Damage can occur at weak points such as the hose ends, washers, couplings, nozzle, splitter, or timer. A hose connected to an outdoor faucet can also leave water sitting in the faucet or supply line. Protecting the hose alone does not necessarily protect that plumbing.
Plan for the whole connection: the hose, attachments, faucet, and any exposed water line may each need attention. Climate and plumbing design affect what steps are appropriate. In a mild area with only occasional cold nights, sheltered storage may be enough for the hose; in a place with repeated hard freezes, the outdoor water line may need to be shut off and drained according to the home’s setup.
Winterizing is also a good time to catch wear before it becomes a springtime leak. A hose that already has a split or brittle section may not be worth storing for another season.
Disconnect the hose and accessories
To prepare a hose for winter, disconnect it from the outdoor faucet and remove every attachment before draining and storage. This separates parts that can trap water and prevents the hose from remaining connected to a faucet that needs winter protection.
Turn off the faucet, then loosen the hose coupling by hand. If it sticks, avoid twisting the hose sharply or using excessive force, which can damage the coupling or faucet threads. A strap wrench may help with a stubborn connection; stop if the faucet itself begins to turn or flex.
Remove the hose nozzle, splitter, and timer. These accessories can hold water in valves or small internal passages even after the hose appears empty. Follow the manufacturer’s storage instructions for timers, especially battery-powered models, and bring them indoors if recommended. Take off quick-connect fittings if they can trap water or are easy to remove.
Keep any washers and small parts together so they are ready for spring. If a washer is flattened, cracked, or missing, replace it rather than forcing the fitting tight later. A good seal should not require excessive pressure.
Drain the hose completely
To drain a garden hose, open both ends, raise one end, and let gravity carry the remaining water out before you coil it. Drain each attachment separately because water can remain inside a nozzle, splitter, timer, or connector.
- Lay the hose on a sloped surface, if available, and remove kinks.
- Lift one end higher than the other, then walk along the hose or gently move it to guide water toward the lower end.
- Let the water run out until no more is coming from the open end. Reverse the direction or raise the opposite end if water remains.
- Shake or tilt the nozzle and other accessories to empty their internal passages, following any product-specific instructions.
Do not assume that a hose is drained because it stopped dripping at the faucet. Water can collect in low spots, especially in a long hose left flat on uneven ground. Avoid forcefully whipping the hose to remove water; that can strain the fittings and cause tangles.
Complete drainage reduces risk, but it cannot guarantee that every internal cavity is dry. That is why draining and storing the hose in a protected place work best together.
Inspect and clean before storing
Before storing the hose, check its full length and fittings for cracks, bulges, leaks, and wear, then wipe away dirt and debris. A quick inspection helps identify existing problems that could worsen in storage or become obvious only after spring reconnection.
Look closely at the hose ends and the sections that bend often. Check for:
- Cracks, splits, soft spots, or bulges in the hose wall
- Corrosion, stripped threads, or loose fittings
- Damaged washers or leaks around the coupling
- A nozzle, splitter, or timer that sticks, leaks, or retains water
Wipe off mud and plant debris with a cloth. If the hose needs washing, let it dry before putting it away. Do not use harsh cleaners unless the hose maker says they are safe; some materials can be affected by chemicals or high heat.
Replace a compromised hose if it has a deep split, several weak sections, or recurring leaks. Repair tape or a coupling repair may suit a small, isolated problem, but it is not a dependable fix for a brittle hose or damage near multiple fittings. Match any replacement parts to the hose diameter and manufacturer guidance.
Store the hose in a protected place
Store a drained garden hose loosely coiled in a dry, sheltered location where it is protected from freezing temperatures, direct sunlight, and sharp objects. A garage, shed, or basement may work if it stays dry and is suitable for the hose material and local conditions.
Make broad coils rather than tight loops, which can kink the hose or place stress on its outer layer. Keep it off rough concrete edges, nails, and tools that could puncture or crush it. If you use a hose reel, check that water has drained from the hose and reel before winding it up; some reels can retain water in their fittings or internal passages.
Store the nozzle, splitter, and timer indoors in a dry place, unless their manufacturer specifies another method. Keeping accessories together with the hose makes spring setup easier, but avoid leaving batteries inside a timer for long-term storage if its instructions advise removing them.
Indoor storage is a practical choice in regions with hard freezes, though a heated room is not essential for every hose or home. If indoor space is limited, choose the most sheltered dry area available and follow the hose maker’s storage guidance. Do not leave a hose exposed to winter sun, snow, or repeated freeze-thaw cycles when you can avoid it.
Protect the outdoor faucet
Protect an outdoor faucet by following the shutoff and drainage procedure for your home’s plumbing, because hose disconnection alone may not prevent pipe freeze damage. Some homes have a dedicated indoor shutoff valve for an outdoor faucet; others use frost-free faucets or different arrangements.
If your setup includes a shutoff valve, identify the correct valve before cold weather and follow the homeowner’s instructions for closing it and draining the line. Depending on the system, the faucet may need to be opened after shutoff so water can drain from the pipe. Do not assume that every home uses the same sequence.
Remove hoses, splitters, and timers from the faucet. An attachment left connected can interfere with drainage from some frost-free faucet designs, leaving water trapped where it can freeze. If you are unsure whether your faucet is frost-free, where the shutoff valve is, or how to drain the line, check the home’s documentation or ask a licensed plumber. Guessing at valves can shut off the wrong supply or leave water in the vulnerable section.
Faucet covers may help reduce exposure to cold air, but they do not replace proper shutoff and drainage where those steps are required. The right protection depends on the faucet type, pipe routing, and local climate.
Check for damage before spring use
Before using a stored hose in spring, inspect it again and test it under low water pressure for leaks. A hose can appear fine while dry but reveal a split or loose fitting once water flows through it.
Uncoil the hose and examine its full length, couplings, and washer. Reattach it to the faucet without cross-threading, then turn the water on gradually. Check along the hose and around each connection. If you find a leak, turn off the faucet before tightening or replacing a washer.
Small drips at a connection may point to a worn washer or loose fitting. A spray or bulge along the hose wall suggests a damaged section; stop using the hose and replace it or make a suitable manufacturer-approved repair. Do not leave a pressurized hose unattended while testing.
Frequently asked questions
Can a garden hose stay outside in winter?
It is safer to disconnect, drain, and store a garden hose in a sheltered place before freezing weather. Leaving it outside exposes it to cold, sun, and repeated freeze-thaw cycles, and a connected hose may also interfere with outdoor faucet drainage.
Should a hose be drained before storage?
Yes. Open both ends and let water drain out before coiling the hose. Empty the nozzle, splitter, timer, and other attachments separately, since they can retain water.
Is it enough to turn off the outdoor faucet?
Not always. Turning off the faucet may leave water in the outdoor pipe or faucet. Whether you should use an indoor shutoff valve and drain the line depends on your home’s plumbing arrangement.
How can I tell if a hose froze and cracked?
Look for splits, bulges, brittle spots, or damaged fittings. In spring, run water through the hose at low pressure and check for leaks along its length and at both ends. Replace a hose with extensive or recurring damage.